
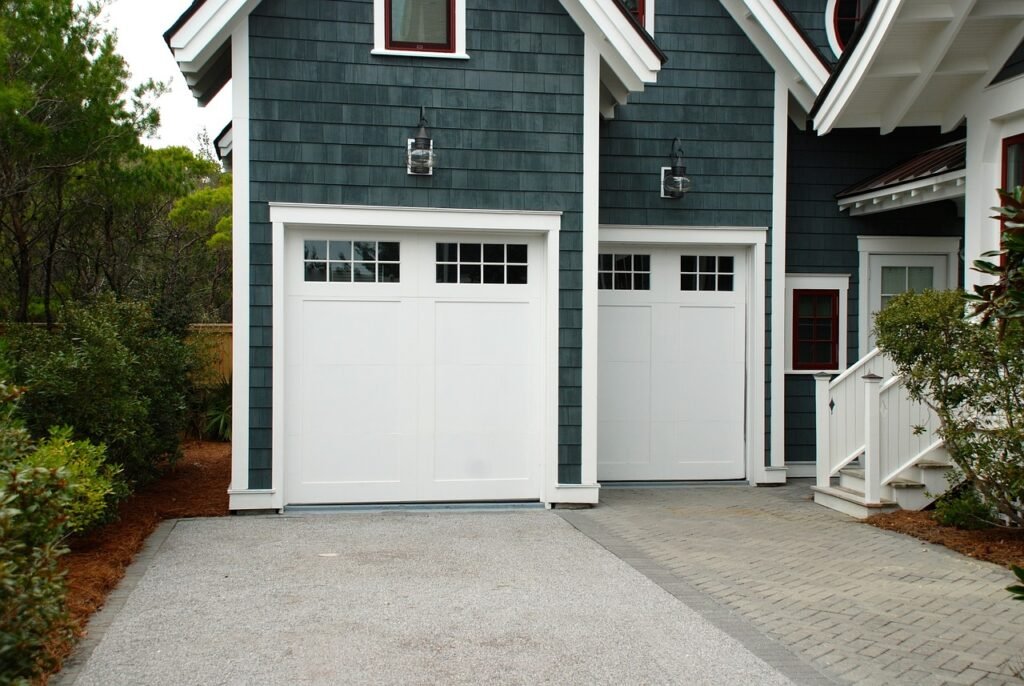
Updating your home’s garage door is a significant endeavor, involving two essential phases. The initial step is selecting a door that not only aligns with your aesthetic preferences but also complements your home’s architectural design.
Once you’ve chosen the perfect garage door, the next phase involves framing the garage’s entry to prepare for installation.
In this article, we will guide you through the process of framing a garage door and introduce you to some key terminology that will help you communicate effectively with garage door professionals.
- Understanding Rough and Finished Openings
- Steps to Rough Frame Garage Door Opening
- Preparation
- Measuring the Rough Opening
- Installing the Head Jamb
- Installing Two Interior Side Posts
- Installing the Side Jambs
- Attaching the Center Bracket
- The DIY Approach or Professional Help?
- Understanding the Significance of Framing a Garage Door Opening
- Cost Considerations
- Final Thoughts
Understanding Rough and Finished Openings
When embarking on the journey of acquiring a new garage door, you’ll likely encounter two terms that play a crucial role in the process: rough openings and finished openings.
- Rough openings refer to the initial open space at the front of your garage, which is intentionally made slightly larger than the garage door itself. This extra space allows for the door to be fully opened and house its various components.
- In contrast, finished openings represent the remaining negative spaces after the framing is in place, providing the framework for your door installation.
Steps to Rough Frame Garage Door Opening
To ensure a smooth framing process, you’ll need a set of essential tools and materials:
- Tape measure
- Pencil
- Circular saw or bandsaw
- 3 x 2-by-6 inch lumber or PVC pieces (depending on your preference for door jambs)
- Framing nails
- Hammer or nail gun
For framing materials, it’s crucial to purchase enough lumber to cover double the length of your garage’s floor-to-ceiling height and double the height of each side of the rough opening. Additionally, you’ll need materials to line the width of the header and the space between the header and the ceiling.
Preparation
We come prepared with all the necessary tools and equipment for a swift and efficient framing process. Our arsenal includes lumber, a trusty tape measure, a versatile circular or band saw, and a handy pencil. In certain cases, we can also opt for PVC door jambs instead of lumber for added versatility.

Measuring the Rough Opening
Start by using your tape measure to gather the following measurements and record them:
- The distance between the garage floor and the rough header, which should be one and a half inches longer than your new garage door’s height.
- The header’s width, which should be nine inches wider than the door.
- The rough opening’s width, which should be three inches longer than the door.
Installing the Head Jamb
Begin by cutting your framing material to match the header size you measured. Then, secure the head jamb in place using framing nails. This step is essential to ensure that the side jambs will align perfectly with the header.
Installing Two Interior Side Posts
Inside your garage, measure the distance from the floor to the ceiling. From your lumber supply, cut two posts that will later attach the garage door’s tracks to the wall. Mount these posts to the head jamb, creating a “goal post” structure using framing nails.
Installing the Side Jambs
Cut two pieces of lumber or PVC door jambs to match the new height of your door opening. The side jambs should connect to the bottom of the installed head jamb and be precisely the height of your garage door, minus 1/4 inch (leaving a small gap just above the ground).
Attaching the Center Bracket
Framing Measure the space between the top of the header and the ceiling. Cut a piece of lumber to this height and center it in the frame. This final piece of framing serves as the attachment point for a garage door installer to connect the spring system’s center bracket.
By following these five steps, you’ll expertly frame your garage door, creating the ideal foundation for a seamless and visually appealing installation. This project not only enhances your home’s curb appeal but also ensures the functionality and longevity of your garage door for years to come.
The DIY Approach or Professional Help?
Wondering if you can tackle the task of framing a garage door opening on your own? Absolutely! With the right tools and accurate measurements, it’s within your reach. However, in some cases, especially if you’re not confident in your DIY skills, it’s wise to call in a specialist to handle the framing process.
Understanding the Significance of Framing a Garage Door Opening
Framing a garage door opening might appear to be a meticulous task, but it’s an essential one. The goal here is to ensure your garage door fits flawlessly. If this step is overlooked or done incorrectly, it can lead to a range of problems, from a poorly installed door to an opening that’s too wide for the doorway.
Cost Considerations
While framing a garage door can be a rewarding DIY project, it might not be everyone’s cup of tea. Calling in a specialist is a convenient option. The cost of framing a garage door frame can vary, depending on the specialist and the size of your garage door. On average, the cost ranges from $180 to $600, including labor for preparation and installation. For a replacement, labor costs may be slightly lower than installing a new frame. The jambs typically cost between $150 and $250.
Final Thoughts
Before you embark on the installation or replacement of a garage door, remember that proper framing of the garage door opening is a crucial step. It ensures a perfect fit between the frame and door, contributing to a seamless and functional result. Framing a garage door may seem daunting, but with the right tools, knowledge, and precision, it’s an achievable DIY project. However, if you prefer professional assistance, don’t hesitate to reach out to experts like Garage Door Ideas (GDI), who are ready to support you every step of the way and offer additional tips on framing your garage door.